Urdu Gharana

Tips for Applying Mascara To Perfection

Tips for Applying Mascara To Perfection

Following are the tips for  applying mascara to perfection

tips for applying mascara to prefection 450 x 319 makeup tips and tutorials
  1. The first tip among the best tips for applying mascara to perfection is that the mascara for our daily makeup is the type that suits each of us. There are countless options out there, so the trial-and-error method seems to be the most convenient before actually making a purchase. For instance, some women would prefer a lengthening mascara for daytime and a curling/thickening one for a night out on the town, but we should all pick it according to our preferences.
  2.  The same amount of attention must also be paid when it comes to color. While some women would not wear anything but black mascara, that does not mean they do so on account of a poor range of options. On the contrary, one can find a color for almost every occasion, so the trial-and-error method should come in handy once more.
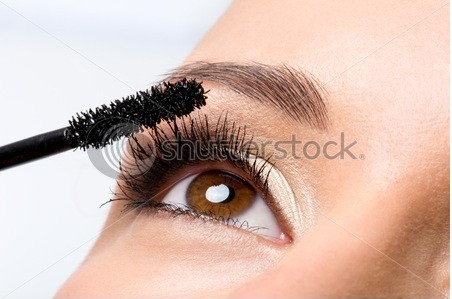
  3.  Now it comes to applying the mascara, first we must curl the eyelashes. Then, we should pull out the wand and apply mascara from the basis towards the tip of the eyelashes, using a zig-zagging movement or  you can try to wiggle the wand left to right at the base of lashes. It’s the mascara placed near the roots — not the tips — that gives the illusion of length. This will ensure that lashes do not cluster together, while also allowing for a perfect coverage.
  4.  We should then wait until it’s dry and, just in case we’re not satisfied with the result, apply a second coating for a more dashing effect.If length is what we’re looking for, then the second coating should be applied mostly on the tip of the lashes or close the eye and place the mascara wand on top of lashes at the base and pull through to remove any clumps..
  5. Next up, the lower lid, since lashes are shorter, they do not require that much definition, so we might as well use the wand with leftover mascara from the upper lid. Use the same zig-zagging motion for a full coverage.
  6.  The last step is about damage control. Applying mascara can be a really messy operation if we’re not familiar with it, so we should remove all of it that is anywhere else but on the lashes, such as on the lid, under the eye or even on the nose. If it so happens that we have messed up the eyeshadow, we should remove the spot of mascara with a cotton bud and then just dab some eyeshadow again.
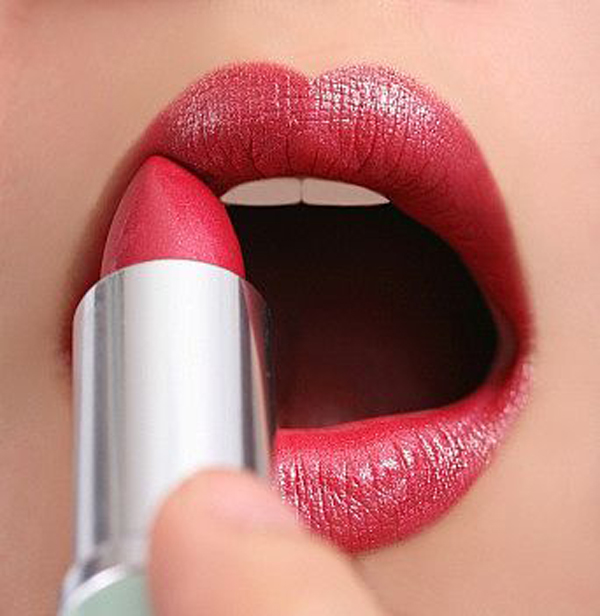
Tips for Applying Lipstick Correctly

Tips To Applying Lipstick Correctly

Since there are zillion shades of lipstick out there in the market, and among those enormous shades some times the bright shades are in fashion and sometimes the pastel one’s. I would be a shame if we do not apply those shades. By applying i mean if we do not know the right way to wear those shades, there are different ways to wear different colors of lipsticks.

Tips for Applying Lipstick Correctly 600 x 616 makeup tips and tutorials
There are some things which you need to keep in your mind while applying these lipsticks. Following are the things you need to have while applying the lipstick correctly.
  • The first thing is pretty obvious, it the lipstick itself.
  • Then we should have Lip liner
  • A soft cloth or something similar
  • And last but not the least the LOVE for makeup.
These are the ingredients for applying the lipstick to perfection.  The first tips among the tips for applying lipstick correctly is that you should line your lips with the lip liner. Make sure that the lip linear is a shade or two darker than the the lipstick you are going to apply. By applying the lip linear, you make sure that the lipstick does not bleed out and stain your skin in the process. If you want you can also choose a color that is lighter, or a different shade all together, but make sure that they go together. Like a red would do well with a maroon or a dark pink.
The second thing is that apply the lipstick evenly over the whole lips and take the soft cloth and blot it. How you bolt ? all you have to do is to put the cloth between your lips and press your lips softly for one to two time or until you get the required shade you are after.This is especially great if you are trying on a neon shade and don’t know how to apply it properly. Or, you apply more lipstick and do the same thing all over again to get the shade you want.
If required, put on a layer of lip balm about 15-20 minutes before and let it soak in, if you have dry lips, to soften them and to make sure the lipstick will not sink into the dry cracks of the lips, and making the dry cracks stand out.Also, if you have very dry lips and have dry skin on them, you should take a scrub and wash your lips with the scrub before applying it.

Tips to Contour Your Face


Tips to Contour Your Face 300 x 400 makeup tips and tutorials

Tips to Contour Your Face


One thing that we should keep in mind is; we will not gain perfection from the very start. Contouring is like makeup, you do not start to do it correctly the very first time you do it. In-fact it will take time patience and practice to attain perfection. The best way to do contouring is the trail method. Try different things and see what suits you the best. I am sure not many of you do contouring, regardless sometimes how important it seems. People think contouring is something very different, but honestly speaking its nothing different. You would just have to know what suits you and what does not, and how to go about it. You would need two shades of foundation for it, one which would be slightly darker than your skin tone, and one which is slightly lighter than your skin tone. Following are some rules which you should follow while contouring your face.
  • The first thing while contouring your face that you have to remember is; you need to find the place which is in shadow. 
  • The second thing is your forehead, cheekbones, nose, upper lip chin are places which are naturally highlighted, so these are the places which would have a lighter foundation.
  • The darker foundation will go on places which are naturally on shade, like under your cheekbones, sides of your nose, sides of your forehead, side of your face. Mark these areas out and apply dark and light foundation accordingly. Use a foundation that can be blended well.
  • Though many prefer to use fingers for blending rather then using the brush. Though using fingers may not seem a bad idea, but we would suggest that you use duo fiber brush for contouring or a small foundation brush
  • A smaller brush gives better control over your contouring, and blend away to make sure that the dark and light seamlessly get blended, but they maintain their individual places.
  • After blending the two in, check your face for any patchy skin which might look dry. If it does, you can apply moisturizer to fix it, and blend further.
  • We generally use a sculpting cream, or a combination of lighter and darker cream foundation, but this can be actually done with a number of combinations. Just be careful what you choose and it will be fine.

Homemade Masks For Dark Circles


Homemade Masks For Dark Circles

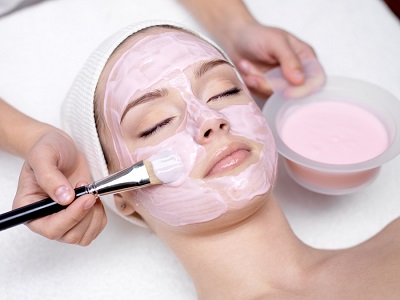
If you are sick and tired of dark circles around your eyes, and want to get rid of them. You are in the right place, in this article we will tell you how to get rid of your dark circles with the help of Homemade Masks For Dark Circles .  

homemade masks for dry cricles 400 x 300 makeup tips and tutorials heath and beauty tips

Coconut Oil Mask

Coconut oil is very beneficial and effective to remove dark circles and puffy eye bags. Massage a few drops of coconut oil around the eyes to get rid of dark circles and bags under eyes. You may have to do this home remedy every day to reduce dark circles and swelling under eyes.

Almond Oil Mask

The second  mask among our homemade masks for dark circles is the almond oil mask.Almond oil is a beautiful hydrator for your skin. Almond oil helps to fade away dark circles and reduce the appearance of crow-feet wrinkles. A mixture of honey and almond oil applied each night can help to get rid of dark eye circles and bags under the eyes.

Parsley Mask

Though many of you use concealers or bases to hide dark circles, why don’t you try the parsley mask at least this is something permanent and you don’t to have worry about retouching it again and again. Parsley Mask is really easy to make, all you need is Parsley, one table spoon of hot water and that by it. Following are the instruction to make Parsley Mask For Your Dark Circles.
  • Step 1: The first step towards making the parsley mask for your dark circles is to roughly chop a handful of parsley.
  • Step 2:  The second step is to grind this roughly chopped parsley leaves, the important thing here to remember is that you should use only a wooden spoon to grind parsley. Grind it until it releases the juices.
  • Step 3: Then pour a tablespoon of hot water over the parsley and mix the mixture properly. If you don’t mind Yogurt, you can always add yogurt to the mixture for better results. Wait for the Water to be cooled down, once the water cools down soak 2 cotton balls with the juice and the cotton ball under your eyes for 10 minutes.
  • Step 4: The last thing is that you should do this twice a week, though it is a slow process but then slow and steady wins the race right. It might take a month to see the visible difference but it does work. Give it a shot though.

How To Give Your Cheeks Right Pinkish Glow


How To Give Your Cheeks Right Pinkish Glow

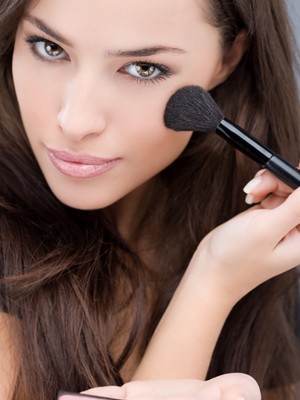
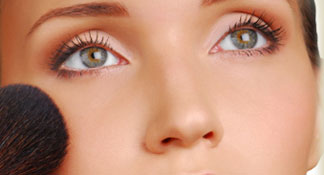
You should be aware of the fact that which shade or blush on color will suit you and which not. You should always apply blush on shade which will enhance your skin tone. Blush on shades are meant to make you look fresh but applying the wrong shade will result in quite the contrary. Following are some very good tips for making your that you are not applying the wrong blush on shade. Following are the tips on how to give your cheeks right pinkish glow.
How To Give Your Cheeks Right Pinkish Glow 324 x 175 makeup tips and tutorials

Fair complexion

 Give a healthy flush look by applying a shade of pink which is closest to your skin tone. Just a sweep on the apples of the cheeks is enough to add color.

Wheatish complexion

A hint of coral tones in the pink blush will lift the look. Apply a sweep of light pink blush on the cheeks and then add a bit of bright coral pink only on the apples of the cheek.

Dusky complexion

A pink blush blended with a coral shade bordering on orange will do the trick. Apply a light pink on the cheeks and add an orange toned blush on the apples of the face. Alternatively, you can also go with a blush that is magenta in color for the apples.
We hope that these tips are useful.
Related Posts Plugin for WordPress, Blogger...
Don't Forget To Join US Our Community
×
blogger