Urdu Gharana

Homemade Masks For Dark Circles


Homemade Masks For Dark Circles

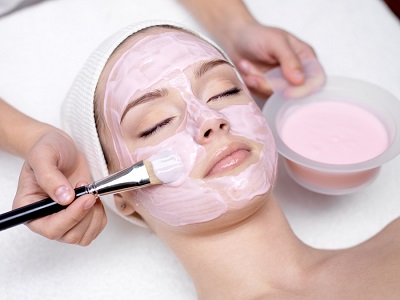
If you are sick and tired of dark circles around your eyes, and want to get rid of them. You are in the right place, in this article we will tell you how to get rid of your dark circles with the help of Homemade Masks For Dark Circles .  

homemade masks for dry cricles 400 x 300 makeup tips and tutorials heath and beauty tips

Coconut Oil Mask

Coconut oil is very beneficial and effective to remove dark circles and puffy eye bags. Massage a few drops of coconut oil around the eyes to get rid of dark circles and bags under eyes. You may have to do this home remedy every day to reduce dark circles and swelling under eyes.

Almond Oil Mask

The second  mask among our homemade masks for dark circles is the almond oil mask.Almond oil is a beautiful hydrator for your skin. Almond oil helps to fade away dark circles and reduce the appearance of crow-feet wrinkles. A mixture of honey and almond oil applied each night can help to get rid of dark eye circles and bags under the eyes.

Parsley Mask

Though many of you use concealers or bases to hide dark circles, why don’t you try the parsley mask at least this is something permanent and you don’t to have worry about retouching it again and again. Parsley Mask is really easy to make, all you need is Parsley, one table spoon of hot water and that by it. Following are the instruction to make Parsley Mask For Your Dark Circles.
  • Step 1: The first step towards making the parsley mask for your dark circles is to roughly chop a handful of parsley.
  • Step 2:  The second step is to grind this roughly chopped parsley leaves, the important thing here to remember is that you should use only a wooden spoon to grind parsley. Grind it until it releases the juices.
  • Step 3: Then pour a tablespoon of hot water over the parsley and mix the mixture properly. If you don’t mind Yogurt, you can always add yogurt to the mixture for better results. Wait for the Water to be cooled down, once the water cools down soak 2 cotton balls with the juice and the cotton ball under your eyes for 10 minutes.
  • Step 4: The last thing is that you should do this twice a week, though it is a slow process but then slow and steady wins the race right. It might take a month to see the visible difference but it does work. Give it a shot though.

How To Give Your Cheeks Right Pinkish Glow


How To Give Your Cheeks Right Pinkish Glow

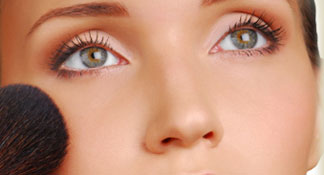
You should be aware of the fact that which shade or blush on color will suit you and which not. You should always apply blush on shade which will enhance your skin tone. Blush on shades are meant to make you look fresh but applying the wrong shade will result in quite the contrary. Following are some very good tips for making your that you are not applying the wrong blush on shade. Following are the tips on how to give your cheeks right pinkish glow.
How To Give Your Cheeks Right Pinkish Glow 324 x 175 makeup tips and tutorials

Fair complexion

 Give a healthy flush look by applying a shade of pink which is closest to your skin tone. Just a sweep on the apples of the cheeks is enough to add color.

Wheatish complexion

A hint of coral tones in the pink blush will lift the look. Apply a sweep of light pink blush on the cheeks and then add a bit of bright coral pink only on the apples of the cheek.

Dusky complexion

A pink blush blended with a coral shade bordering on orange will do the trick. Apply a light pink on the cheeks and add an orange toned blush on the apples of the face. Alternatively, you can also go with a blush that is magenta in color for the apples.
We hope that these tips are useful.

How To Apply Liquid Eye Liner

How To Apply Liquid Eye Linear

Following are the steps for How To Apply Liquid Eye Linear.

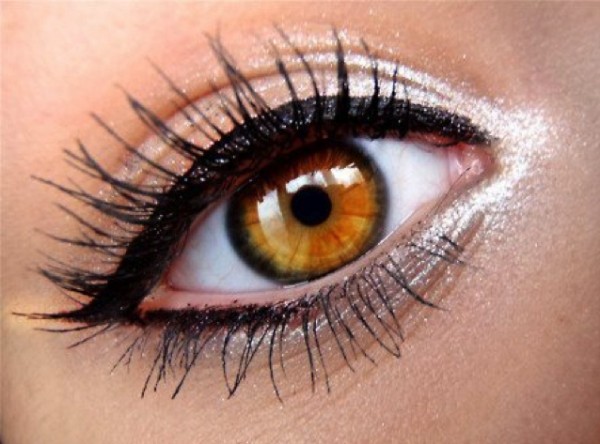
How To Apply Liquid Eye Liner 638 x 473 600x444 makeup tips and tutorials

Choosing Liquid Eyeliner

Once you have decided to apply the liquid eyeliner, now its important that you choose the right kind of liquid eyeliner. There are two main types of liquid eyeliner first Felt Tip and second Dip-brush.  Felt Tip liquid liner is like a marker, and has the eyeliner fed through it like a pen. On the other hand the dip brush liquid eyeliner is similar to nail polish  in that it comes with a small bottle of the eyeliner with a brush that must be dipped in in between each application. This is also known as the pan-cake linear. 

Preparing your Eyes

It is important that you prepare your eyes before your apply the liner. Put on eyelid primer to help you eyeliner stick to your lid for the whole day, provided you plan to keep the liner on your eyes for the whole day.

The Right Position

One of the biggest problem when applying liquid liner is not having the right position. If you are not in the right position your hands are not stable thus resulting in unstable linear. To rectify this problem, rest your elbow on a table and your hand on your cheek as you apply.

Drawing Dots and Connecting Them

It is preferred that you apply small dots on your eyes in accord to the shape of the liner in stead of putting a single small line. Latter you can easily connect those dots to get the perfect shape of linear.

Smooth The lines

Once you have joined the dots, you can always smooth the lines of your eyes to your satisfactions without the risk of damaging the liner shape.

Apply Mascara

The last step is to apply mascara to give your eyes the perfect shape.

How To Apply Eye-Liner Correctly

How To Apply Eye-Liner Correctly

Following are the tips for How To Apply Eye-Liner Correctly .
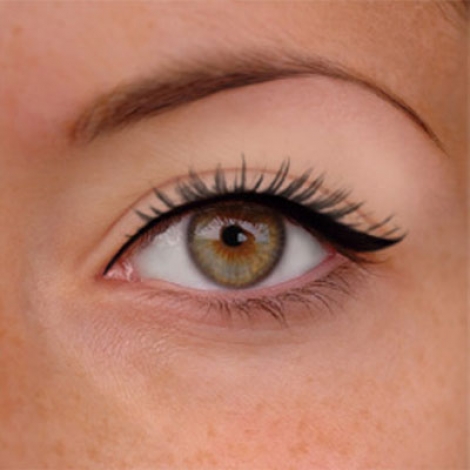
How To Apply Eye Liner Correctly 470 x 470 makeup tips and tutorials
Choose Linear and It’s Shape
The first tip is that you choose the linear, and then decide which shape do you want to apply.
Pose To Put on The Eyeliner
Your posture is very important while applying the linear, if you don’t have a proper pose, chances of you ending up with a disastrous linear magnifies. The easiest way of applying is tilt your head back and use your non drawing hand to stretch the skin on the outside of your eye a bit Then next step is that you should raise your eyebrows so that your eyelids does not block your lashes line. It may also be helpful to rest your elbow on a table or countertop to keep your hand steady.

Create a Dotted Line Along Your Lashes

Then you should start by creating small dotted lines directly above your lashes of your upper eyelid. The important factor here is that; the dots should be as close to the eyelid as possible. Since the basic point of eyeliner is to give illusion of full eyelashes, which you can only mange if your eye lashes are near to your eyelids.

Connect the Dots

Once you have drawn the dots to your satisfactions now connect them properly. It is recommend that you first make dots and then draw the line instead of starting directly off with a continuous line. Also, use shorter lines, so help you create even and non-bumpy line. You should begin drawing at the inside corner of your eye and end at the outer corner.

Finish The Line

 Make sure that each of the dots has been connected, and that the ends of the line taper slightly instead of ending in a blunt, rounded dot.
How To Do Smokey Eyes Makeup

How To Do Smokey Eyes

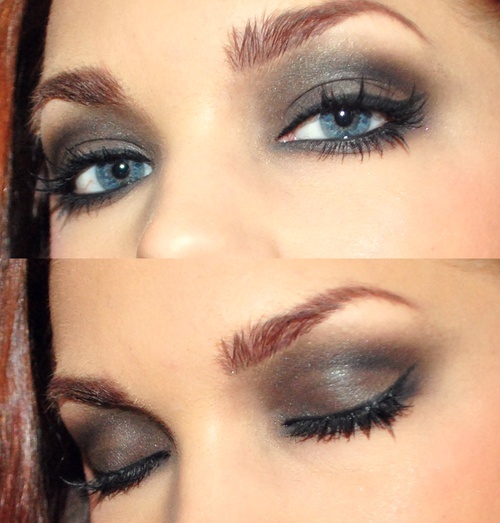
Create Smokey Eyes Makeup makeup tips and tutorials

Smokey eyes look very good. Some believe you can do smokey eyes only when you are wearing black, but that not true. You can do smokey eyes with red, pink, green or any color. The basic idea is you add that color into your smokey makeup. Following are the tips on how to do smokey eyes.

Apply your highlighter

The first step of how to do smokey eyes is applying the highlighter. Highlighter is the lightest shade which you plan to apply on your eye. Tab the eyeshadow shade on the inside corner of your eyelid on both your upper and lower lid. Sweep it directly under your eyes.

Put on your medium shade

The next step is to put on your medium shade. Put the middle eyeshadow on your entire eyelid. Make sure you blend it properly with your highlighter specially at the inside corner, so your makeup gives a smooth look. Apply the middle color upwards only to the natural crease of your eyelid.

Begin adding your darkest color

Now its time to add the darkest color. Start at the outside corner of your eyes and sweep in a C shape about halfway inwards from the outside of your ace on the lash line. The darkest part should always be the point at the upper edge of your lash line, and avoid applying shadows to far in. Sweep a little of your dark shadow under your eye onto your lower lid.

Blend your shadows

The next step in how to do smokey eyes is to blend your shadows. To blend your eyeshadows, first clean your makeup brush. Once cleaned brush the blend back and forth on your eyes to blend the colors together.

Add your eyeliner

And the last step in how to do smokey eyes is applying linear. If you want cat-eye look than bring your eyeliner from the inside corner lash line towards the end of your eyebrow. End it in a tapered line slightly before the edgy of your eyeshadow.
Related Posts Plugin for WordPress, Blogger...
Don't Forget To Join US Our Community
×
blogger